Table of Contents
Subsonic Android Configuration
If you are one of the lucky few with access to my Subsonic server, here are the instructions for setting up the Android app to access the music on the fly.
Get the App
First, if you don't already have it, go grab the Android app from the Play Store. That link should work whether you are on your phone or web browser.
Configure a Server
Now that you have the app, you need to set the server settings to access the server.
Vital Info
First, here is a quick table with info:
| Name | This can be whatever you want it to be |
|---|---|
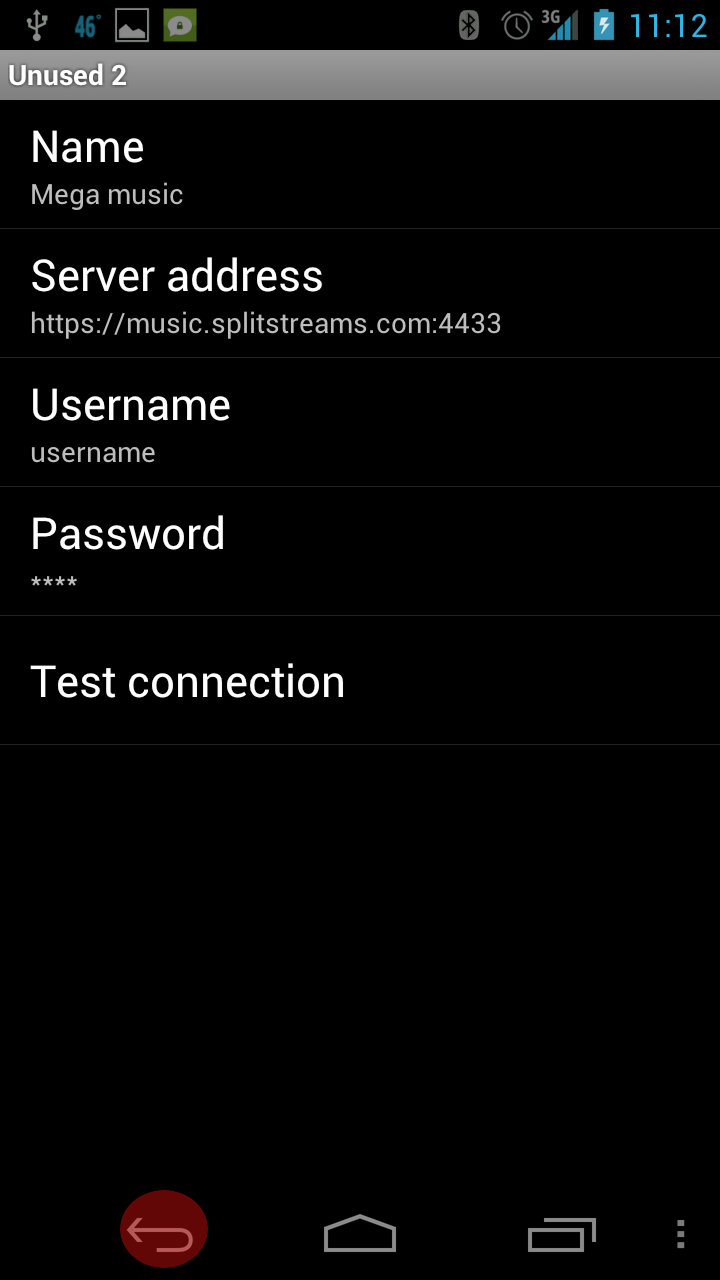
| Server address | This must be: https://music.splitstreams.com ← Note that is https! |
| Username | Your username. This is the same as what you use for web access |
| Password | Your password. Again, the same as what you use to access it via the web |
IMPORTANT!!: the screenshots below show the server address as https://music.splitstreams.com:4433. Do NOT use that, use the above https://music.splitstreams.com instead.
Step By Step
Now, let's move on to the visual walkthrough.
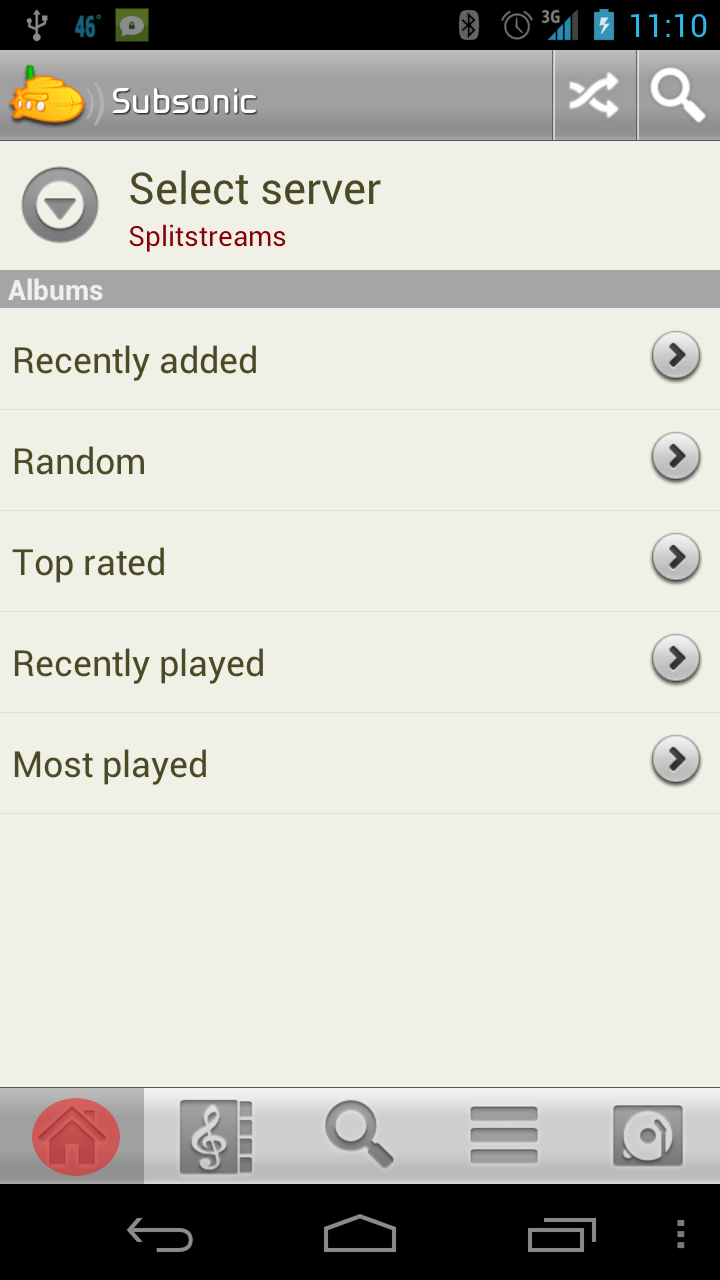
Open Subsonic
Go to Settings
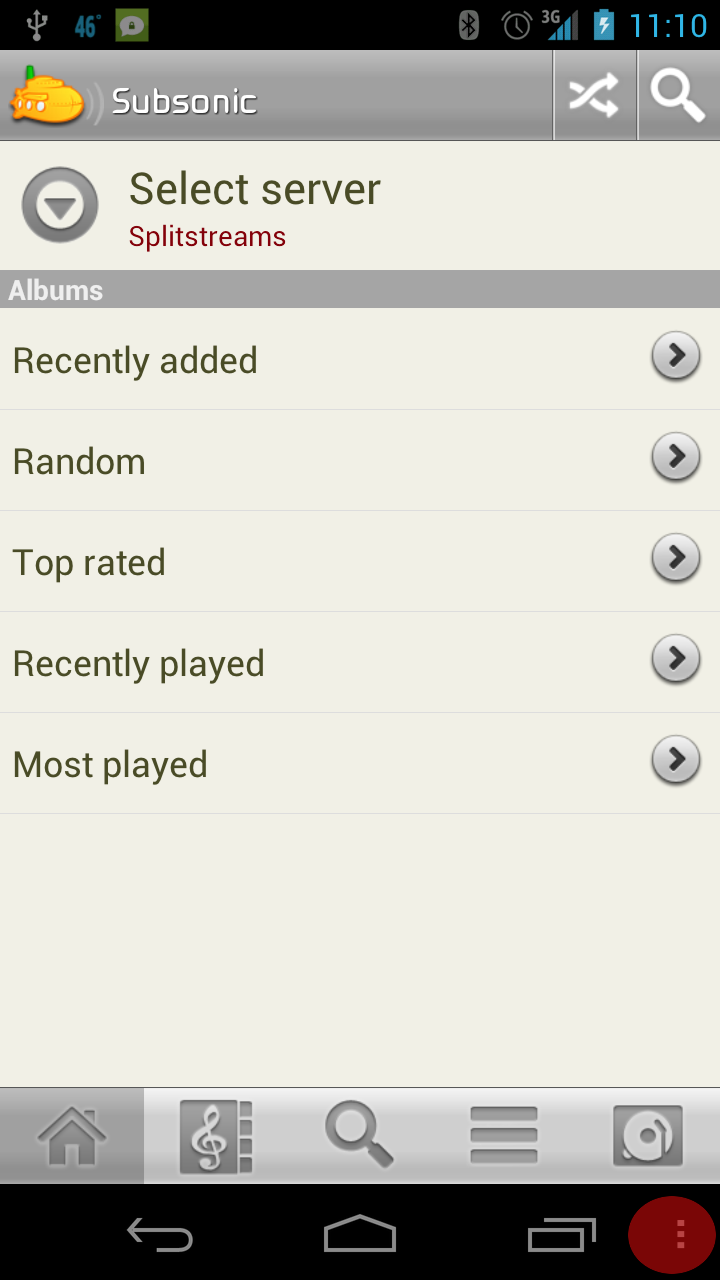
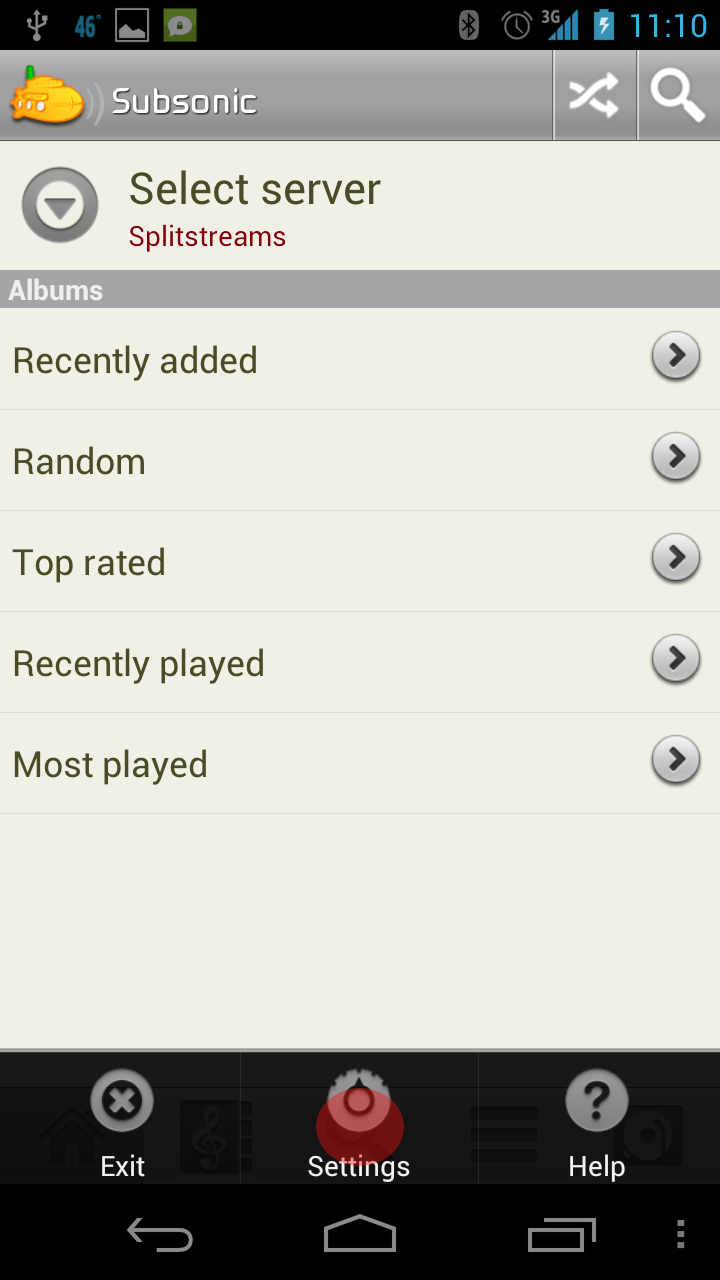
We now want to navigate to the settings page. Click on the “menu” button and select Settings.
NOTE: This demo is based on a Galaxy Nexus running Ice Cream Sandwich. You probably have a different “menu” button than what you see here, most likely a built-in touch-sensitive spot or a physical button.
Press the menu button
Now select Settings
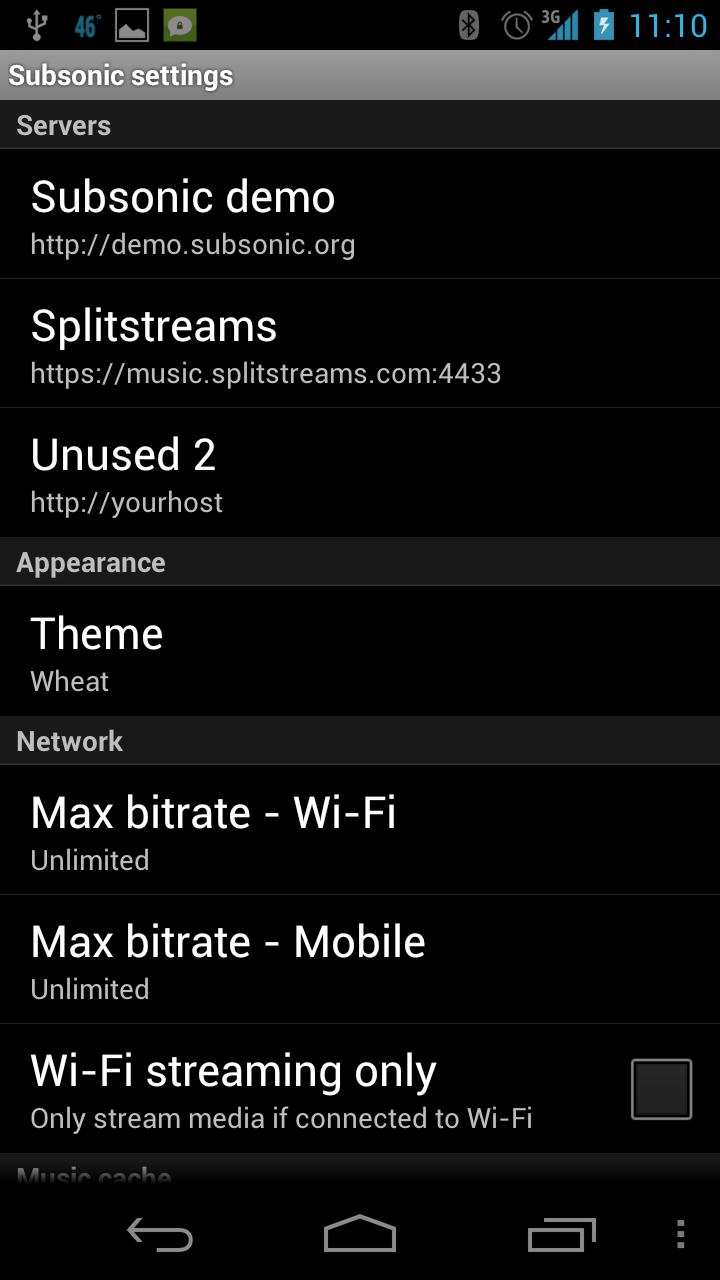
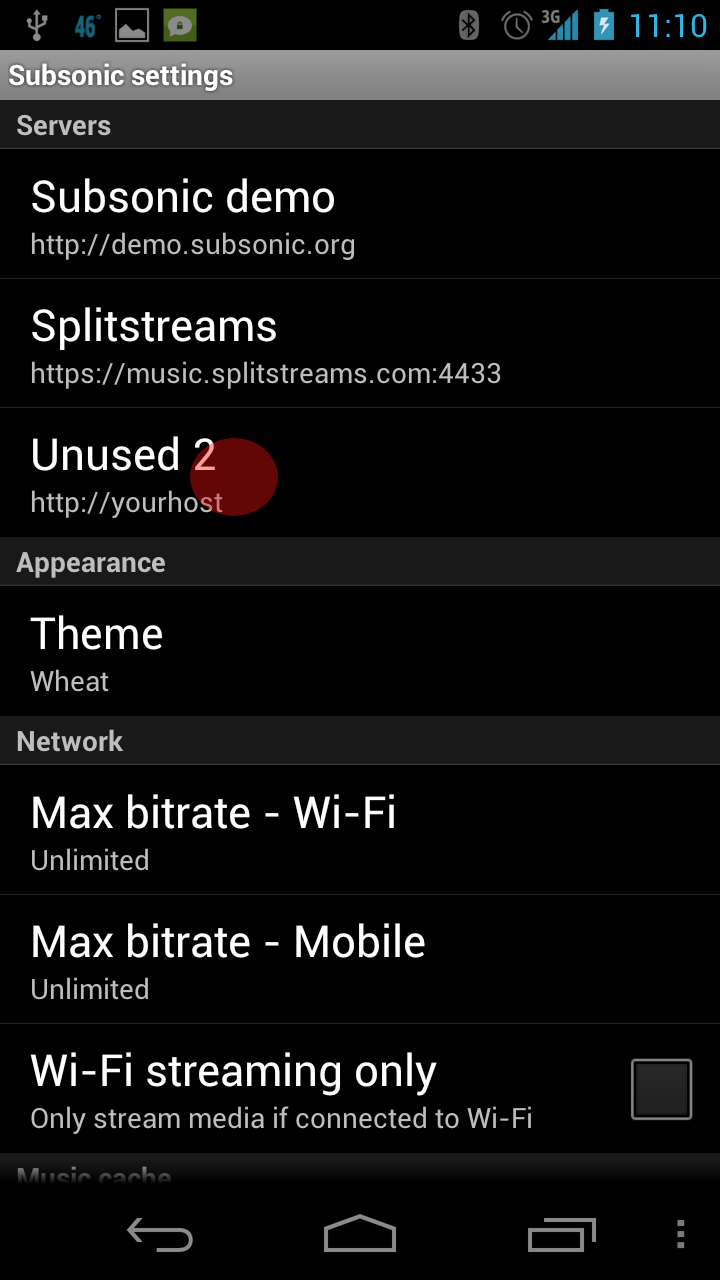
That should bring up the settings page, which will look something similar to this.
Configure For Splitstreams
Now, we just need to set this up to access my server.
Select one of the items in the “Servers” section. For this demo, I'm going to select “Unused 2”
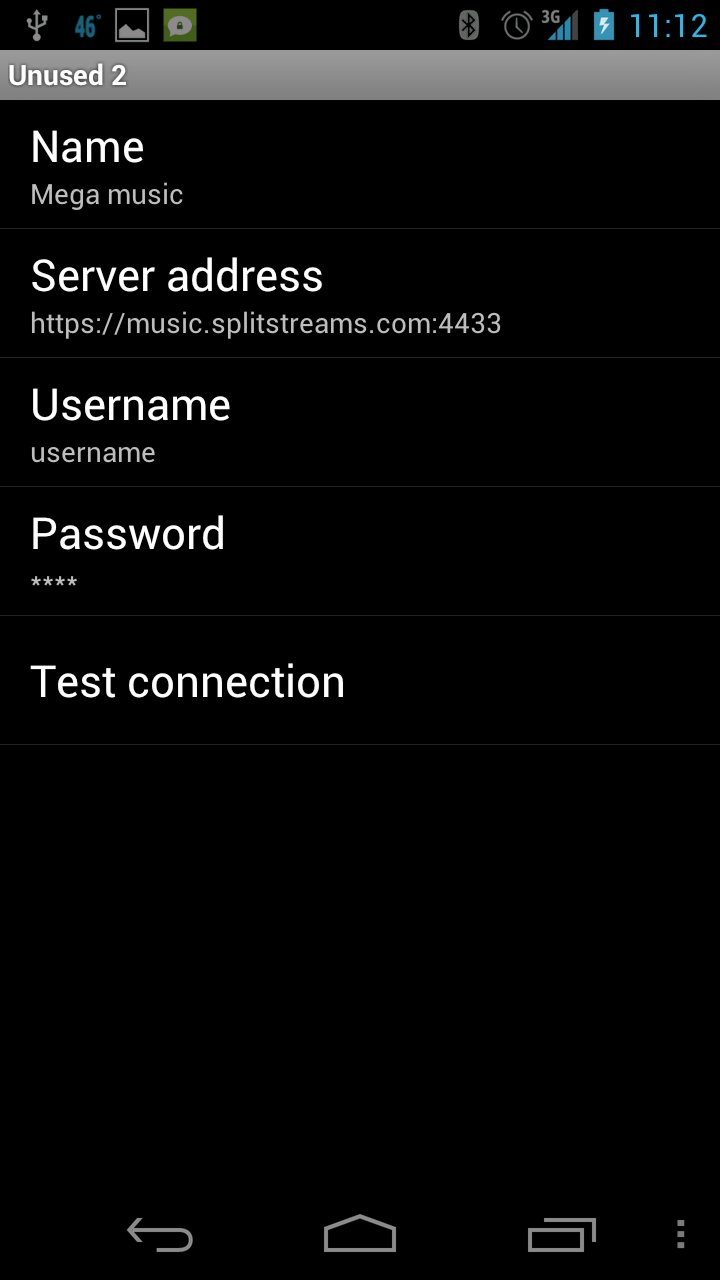
Now, you just need to enter your information. For the demo, I'm naming my server “Mega music” and my username will be “username” (real imaginative, I know). Be sure to enter your username and password here. Be sure you enter, exactly as shown, https://music.splitstreams.com for the “Server address”. Again, note that it is an https url.
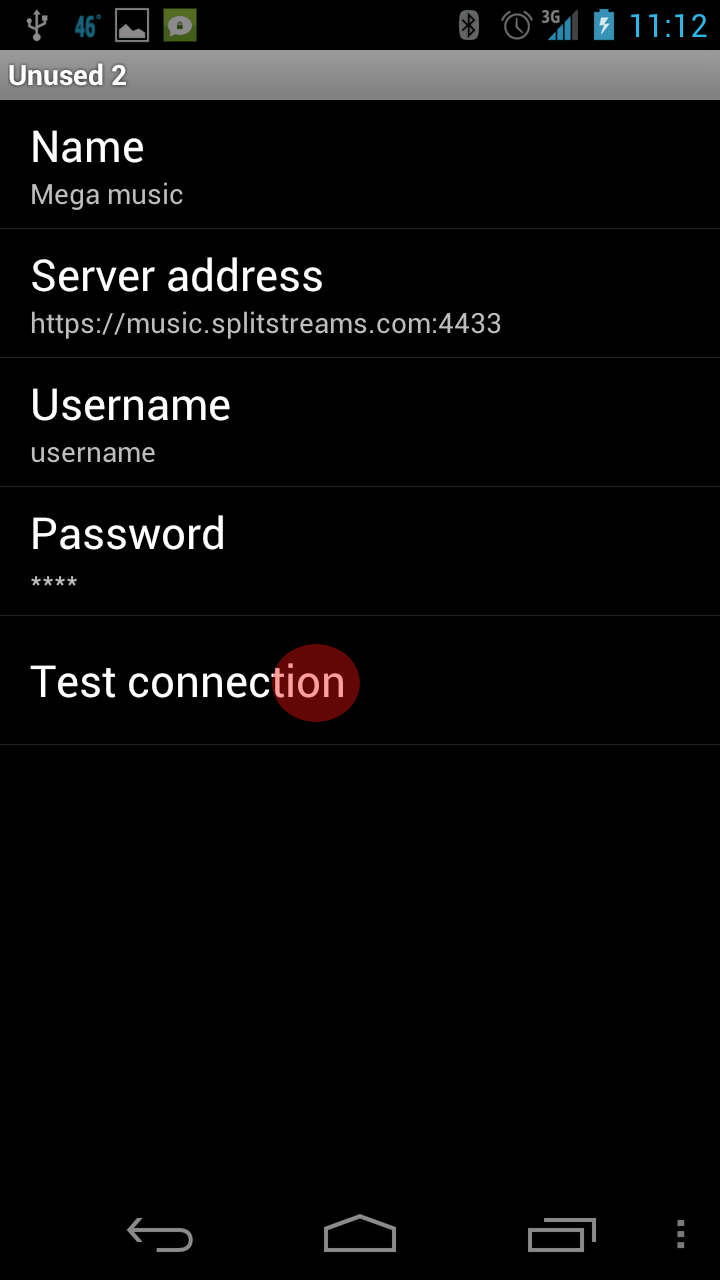
Once you have all your information entered in, press “Test connection”
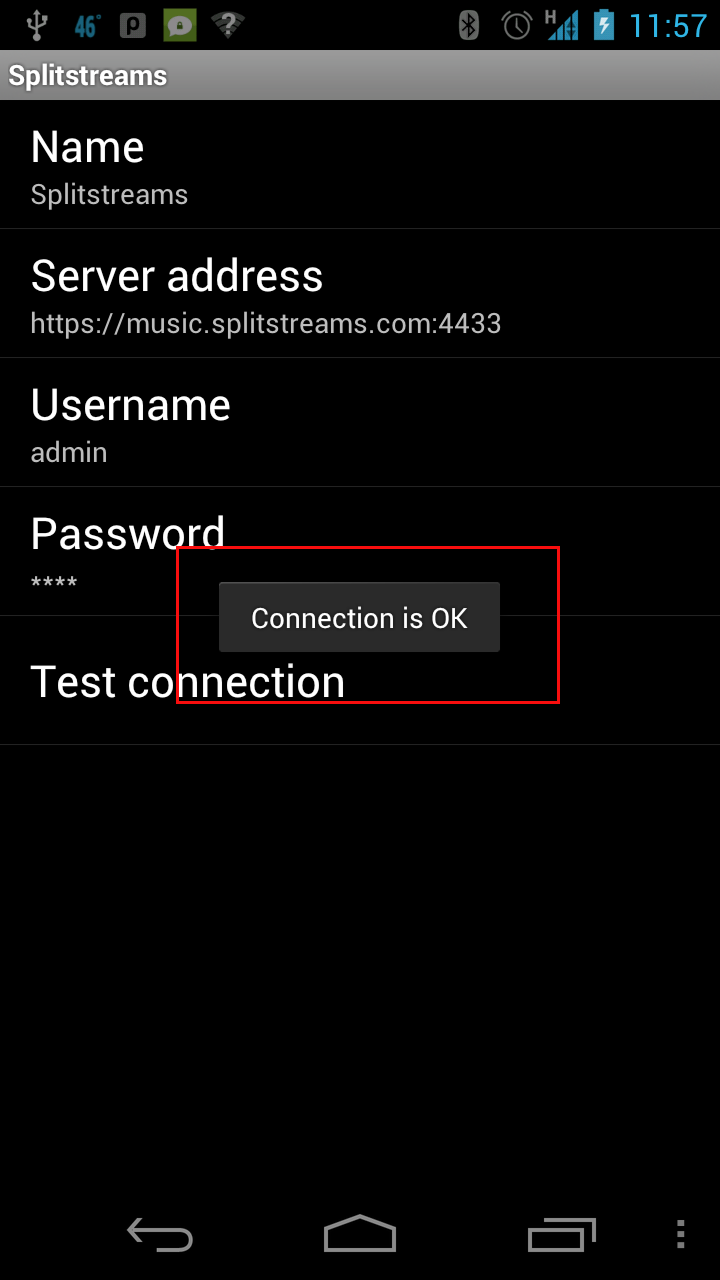
Then, you should see the following “toast” pop up after a successful test:
At this point you are all configured for access to the server.
Select the Server
All that is now left is to just select the server and start listening.
Hit your back button until you return to the “home” page.
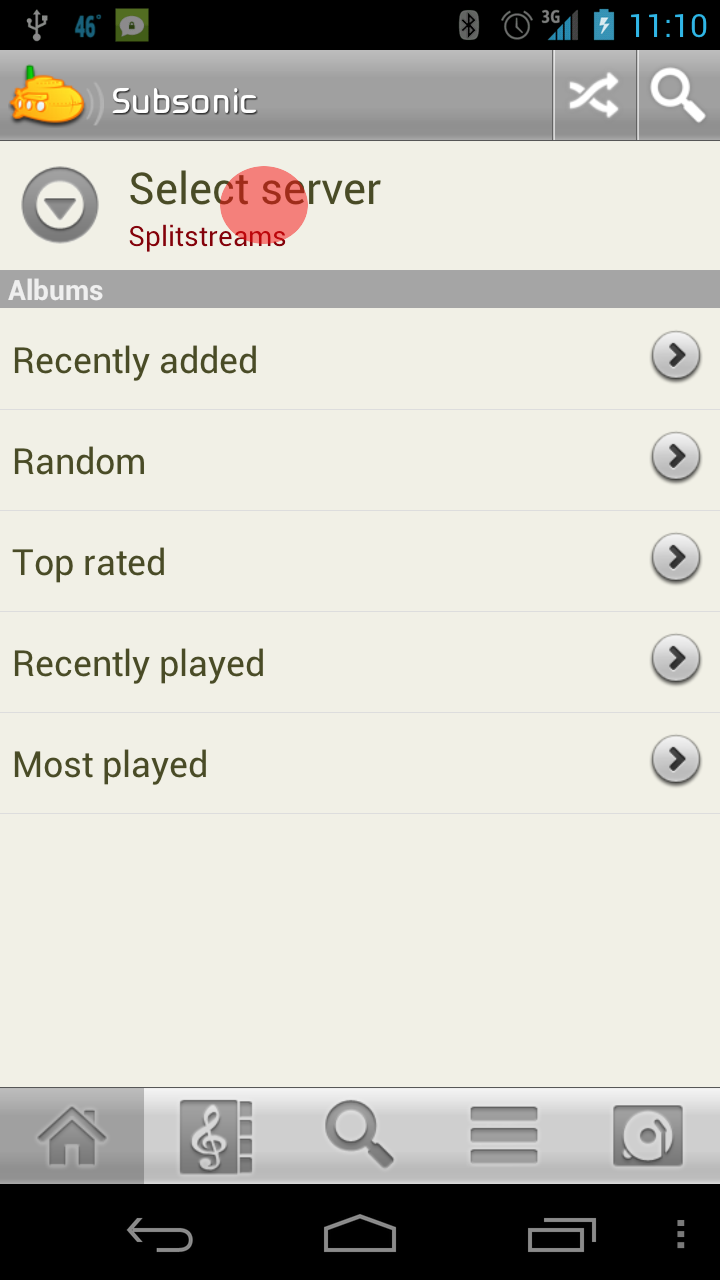
Once you are back to the “home” page, press the “Select server” button at the top.
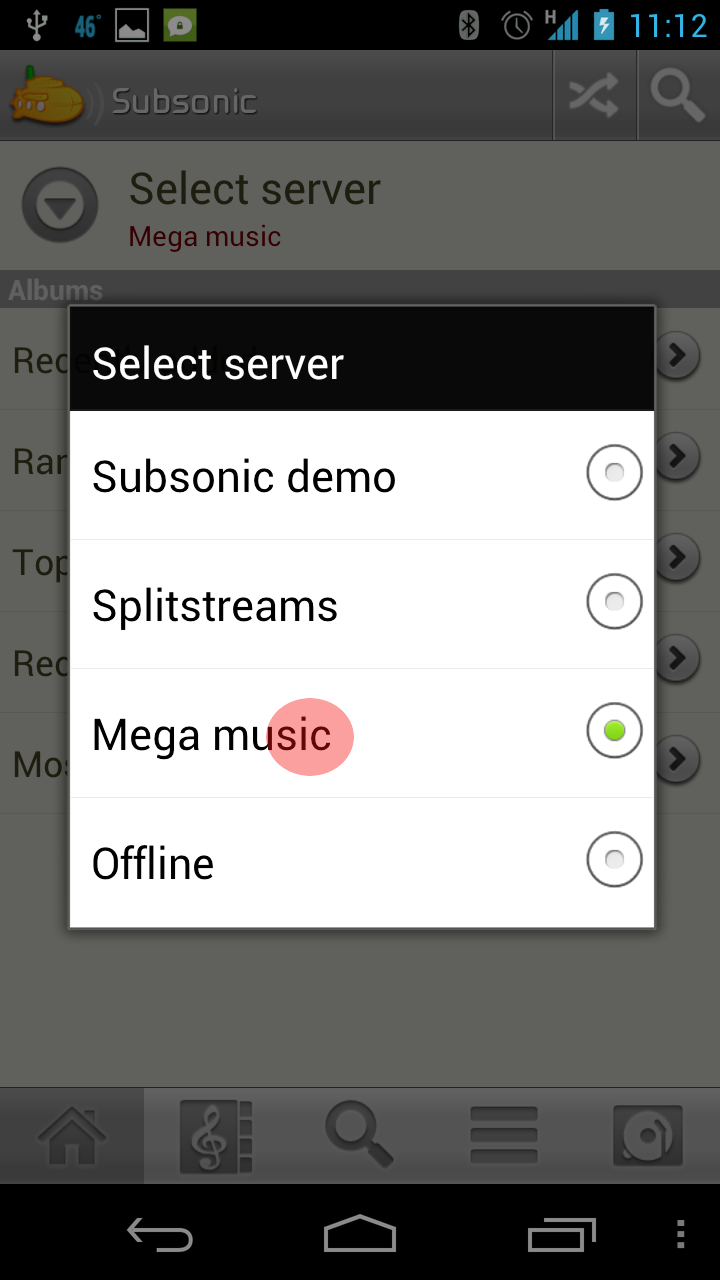
Then just pick your newly set up “Mega music” server
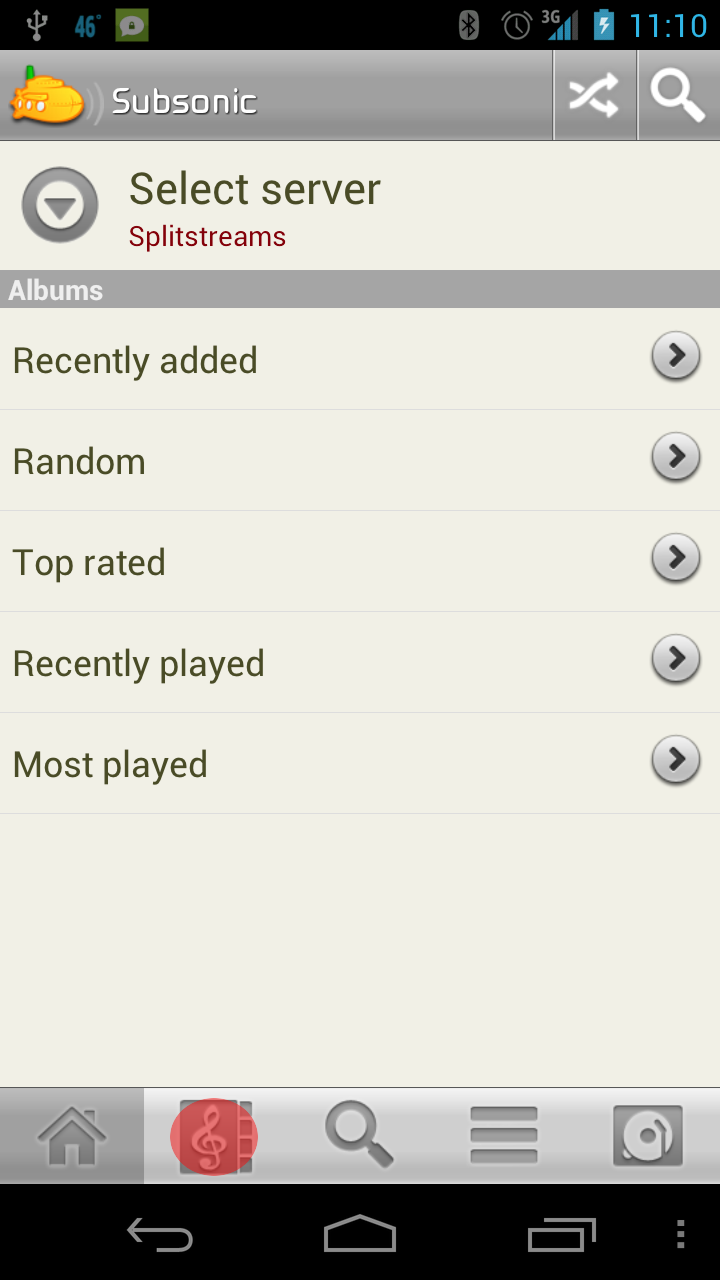
That's it! You are all set. You can now start exploring the music by artists with a press of the “treble clef” icon.
You can also load playlists or search for particular things here too. Happy listening!

